
Birds start nesting, hares are still half whiteish, everything needs to hurry towards the summer. Nights don't get really dark anymore, the very northest part of the Lapland bit further away from here has reached the time of midnight sun already.
Last few days I've been working on a small set of leukus. Here's a random look at the work with some pictures:

Blades were forged out of a flat bar of 80CrV2 tool steel. No forging pics this time, if you're interested there's some in this Nordiskaknivar blog post from 2013.
When blades are ready it's time to fit brass front bolster plates. All the work is done with a dordless drill and needle rasps.
Then curly birch blocks are cut from with a hand saw.

Ends are levelled on belt sander. Lines for the tang are drawn on.

Using the drill again. Several holes from both ends, then using the same drill as a kind of a mill to enlarge the hole.
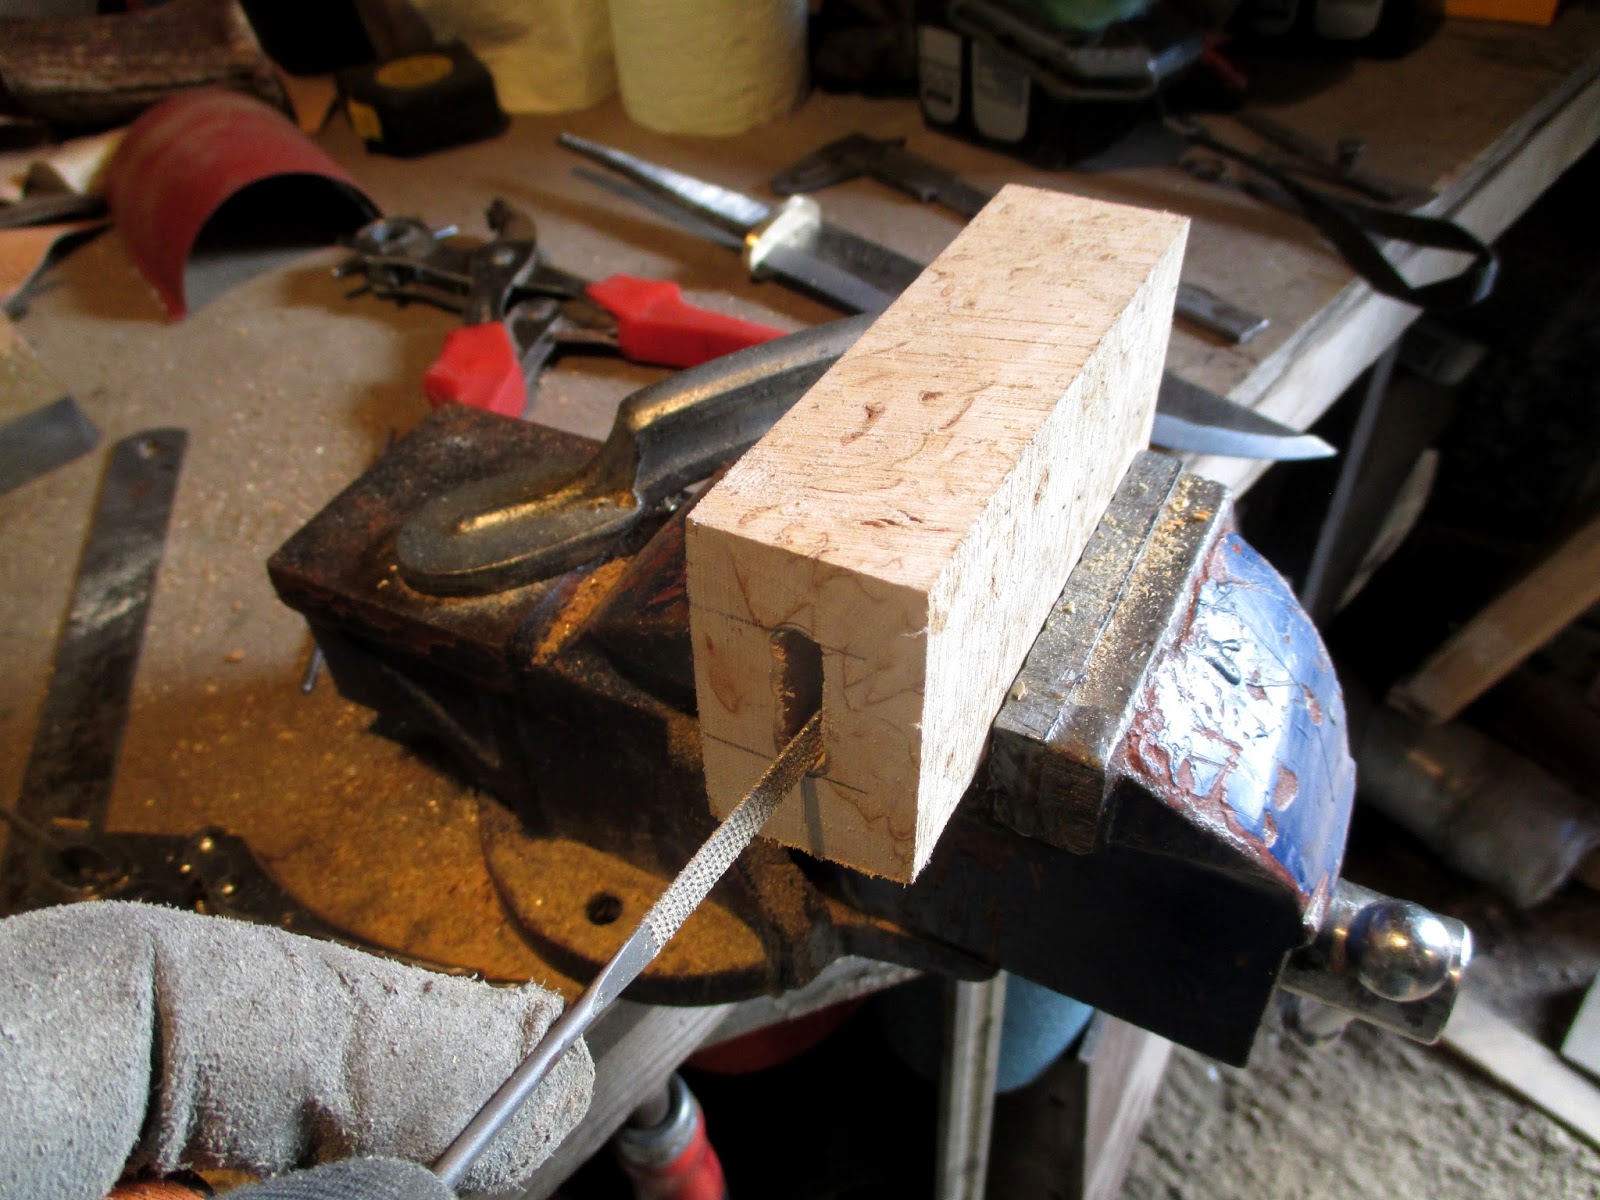
Final fitting is done with needle rasps.

After the curly birch blog fits snugly on the tang it't time to fit the butt bolster plate. Thin spacers of reindeer hide between the brass and wood.

Handle parts fitted, ready to be glued with epoxy


Tang is peened on the butt plate when the glue is still open. Handle is
slightly sanded to see that all parts fit properly. Now the glue is left to set for a day.


Next day starts with shaping the handles roughly on a belt sander.

Then moving to hand sanding.

Screws are attached to reinforce the pommel. Heads are sanded down. Final sanding on the handle is done.

Handles ready, now it's time to make the wooden liner for the sheaths....

Blade shape is drawn on a strip of birch. Cut out with a knife and chisel.


Backs of the liners are made of birch plywood. Then glued together, and the liner is shaped.

When liners are finished, it's time for the leukus to take an oil bath.

Next day is a sewing day! Cow hide is cut, mouth part of the sheath slightly thinned, and then folded.

Knife is wrapped in plastic foil, liner put on the blade, then the wet leather is sewn over the whole package.
After they're dry, sheaths are trimmed, dyed, and treated with leather cream. Then the final polishing on the knife itself, and should be good to go!
These leukus should be ready by tomorrow evening. They'll be up for sale then, so if you're interested in one, stay tuned!
Great looking Leuku's, and very nice pictures and explanation showing the process on how they were made. Being the proud owner of several of your knives, I know the new owners of these will be very pleased.
ReplyDeleteThank you, Bradley!
ReplyDelete